Prologue
I logged in to the game expecting that the world that I will encounter will be entirely different from what I was used to. And when I did, I can’t help but marvel at the game environment. It was indeed overwhelming. The user interface will take some time to getting used to. So if you have been really turned off by the severe monetization of pRO but need a little more convincing to delve into this new world, I hope this piece will be able to.
Downloading Experience
The first steps are always the hardest. First off, you need to download the game which is at least 4GB. I downloaded mine under the “others” section. The other categories are specific to the countries that PlayPark has released the game. I used Pando to download the game. There are other mirrors (or duplicates available from other hosting sites) but I suggest that you don’t get the installer from any of them. They are crappy as they can get. Also, Pando crashes with Avast and Comodo firewall so I turned those off just leaving my anti-malware on. Now, once you’ve downloaded the game, you need to download the latest manual patch. You have no choice but to download them from the crappy file hosting sites. the manual patches are 70MB in average so that takes at least an hour to do.
Logging In
The client allows you to log in using FaceBook which is entirely up to you if you want to use FB or not.

Once you get past that, you will be asked to enter a second password which is made up of 4 numerical digits.
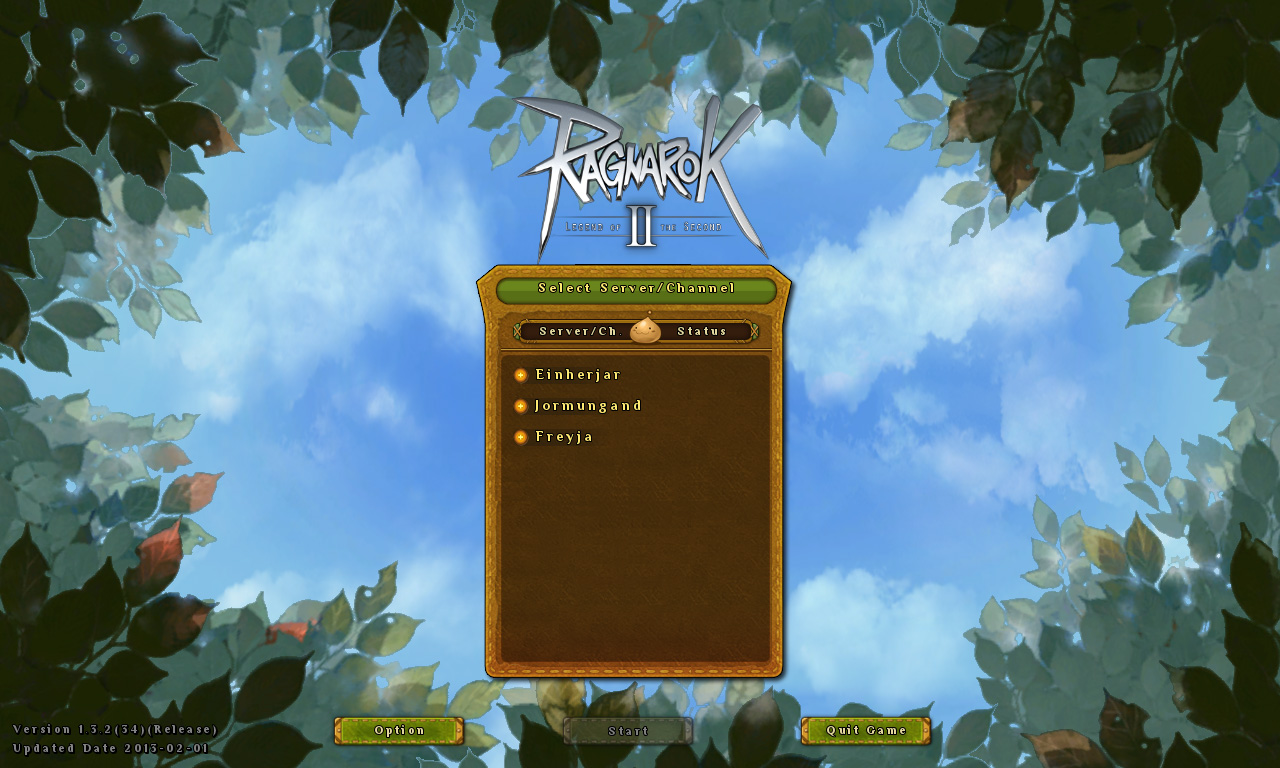
The next screen takes you to selecting your preferred server. There are several “channels under but pay no attention to them if you are playing solo. If you play with friends, you need to be on the same channel so that you can party up on dungeons.

Character Creation
The ability to customize the look of your character’s hair, facial features, voice, up to the eye color is really a step above above from the original. The hairstyles for female chars were nicely done. You will be happy to know that you now have the ability to keep both genders under one gaming account. As mentioned from the previous reviews, you are not allowed to enter spaces or special characters for your IGN so come up with something nifty.

With regard to job classes, you can only choose five at the moment.
There are five basic classes:
Swordsman
Thief
Archer
Magician
Acolyte
The basic classes eventually branch out to two other second-tier classes. Also, at character creation, you need to select your character’s profession. The profession for your character is permanent so be careful. The professions available are:
Blacksmith – you mine minerals at the field and use monster drops to create superior weapons and armor.
Artisan – your character will be able to create accessories by mining field minerals and using monster drops just like the blacksmith.
Chef – food buffs are very important in sieges so this profession will really come in handy. You will be able to harvest ingredients after killing a monster. Once you take the loots, select the monster again to take the cooking ingredient.
Alchemist – the potions you create are 50% better than the once sold by NPCs. Collect ingredients from the field.
At last, Midgard!
The initial spawn point will always be the Elemento Academy Main building. from here, you will be completely overwhelmed with a barrage of messages in your chatbox where people want to party up to defeat a monster or trade specific items. Pay no attention to them since your main concern will be to start the levelling quests.

The important items are the ones labeled as “Material” don’t sell them to NPCs if they are labelled as such. If it happens to be an item you need to craft accessories, etc., you will surely regret it later.
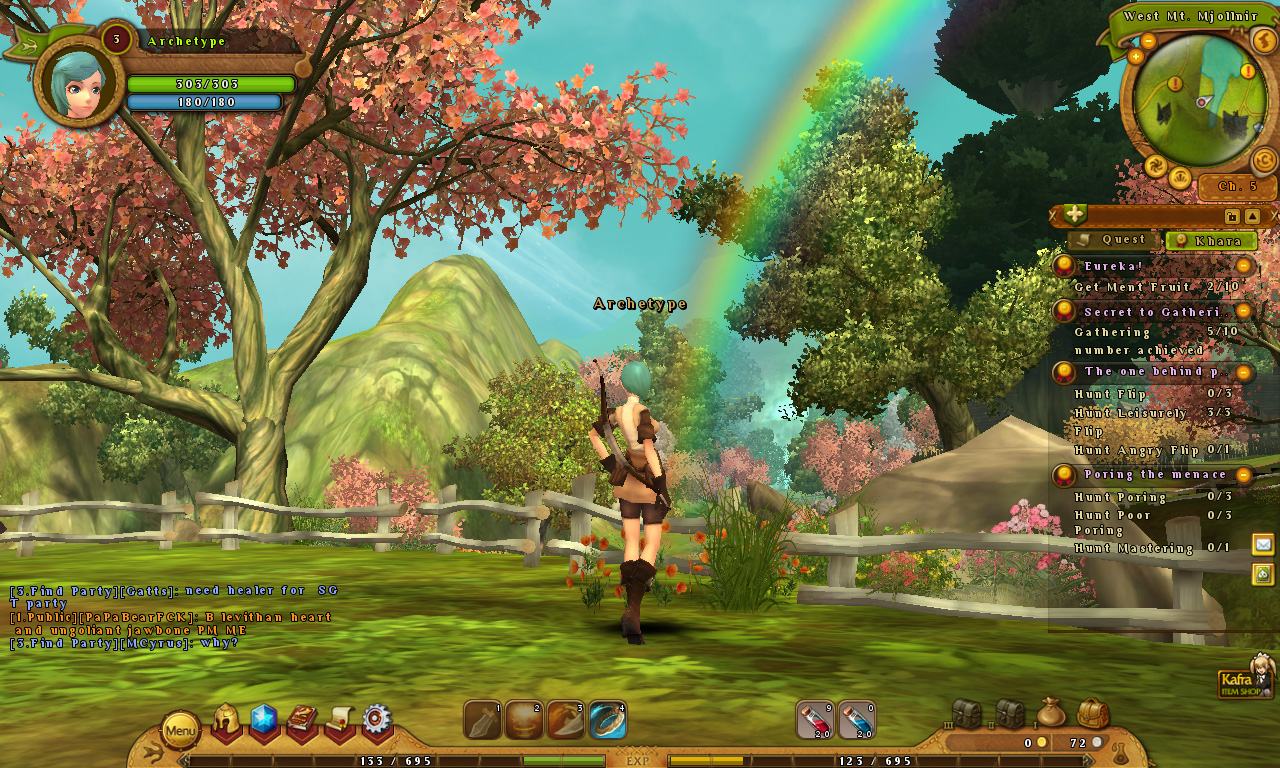
Interface
The screen, especially the text, will be cluttered. Get used to moving around first. Character movement is best done by using the WSAD keys. Familiarize yourself with the map. Instead of the F or function keys, you get to use skills using the number keys on the keyboard. Just like selecting weapons in Counterstrike. Talk to NPCs by right clicking on them instead of left clicking. I’m not sure why this was implemented but you will get used to this after playing for an hour.
Combat
There surely is some latency involved but it will not ruin your experience a lot. What I did find is that it really is irritating if you try to attack mobs and your character is facing the other way. Also, if you get to face multiple enemies during low level, then by all means, run! Be careful when using recovery potions. They have a cooldown of 10 seconds so you just can’t mob monsters which was a way of life in the original.
There are instances where some mobs go through trees instead of going around them. The tree leaves also block camera view so if you want to make a strafing move if you’re an archer, forget it if there are trees around. Just do it inside dungeons.
Quests
This game is a quest driven game. The story line is really promising. The quests force you to explore every bit of the map you are in before moving on. If you are playing your first character, don’t just accept quests and be a happy clicker. Read the plot and you will be able to appreciate the effort the developers put in the game. The drawback for a quest driven game is that it gets old once you play your alternate characters. You just get the quest, kill the mobs, loot and then report back to the npc.
Every now and then, there are animation cutscenes complete with voice acting that let’s you sit back and enjoy. But you will then be surpised that PlayPark failed to put English subtitles in so you’ll be left to wonder what the dialogue was all about afterwards.
Inventory
Your inventory as well as kafra storage is severely limited. This is the aspect of the game that PlayPark might heavily monetize. The difference from the original is that characters do not share the same Kafra storage. If you need to send one of your characters loots or weapons they need, just use the mailbox service. The mailbox service still permits you to send money as well and the fee is just 10 coins.
Some more words
If you were really turned off by the way how pRO failed to polish the typos and grammar of the original, you will be happy to know that PlayPark did a good job with the translation. There are still some typos with PlayParks release but those typos are minimal. The equipment labelled with the Investigator prefix had some typos though. There must have been something wrong with the coding. The grammar that I have come across is really commendable but is not perfect overall, of course. It is understandable that PlayPark will be prioritizing major bugs instead of the text in-game in the beta stages.
I have not really advanced far into the game to write about the music but so far, the musical score is pleasing to the ears but not enough to get you pumped up.
The WOE environment in the original may be irreplaceable due to the dynamism and lag issues that one may encounter when servers are located far away from home.
There are still a lot of issues that PlayPark is dealing with at the moment so expect some downtimes.
Be sure to research what are Khara quests.
And finally, if you have some questions, don’t be afraid to post it.. 😀